Rodin Handbook
This work is sponsored by the Deploy Project
This work is licensed under a Creative Commons Attribution 3.0 Unported License
| User Manual for Rodin v.2.3 |
3.1.3 Customizing a perspective suitable for RODIN
So far, you have needed two different perspectives to work with RODIN. But it actually is possible to work with only one perspective. In this section, we try to customize a perspective so that we do not need any other. If you have experience with customizing Eclipse perspectives, you may only want to read the next paragraph which contains a few thoughts about a good perspective for RODIN.
As a start, we should think about what we want the perspective to look like. The proving perspective already is quite nice, but we may want to use a little bit more editing space when in the Event-B perspective. To create more space, we could move all windows that currently are on both sides of the editing area onto one side, as they never really need to be used simultaneously. For a bit more space, we could dock all of these windows onto the so-called Fast View bar so that they disappear when they are not needed. It would also be nice to be able to split the screen and work on several compontents at once. For example, we could have an abstract machine on one side of the editing surface, and the concrete machine on the other.
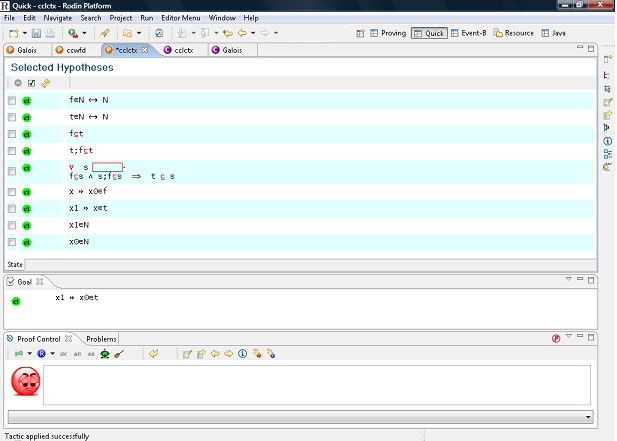
For the most part, the perspectives can be customized by dragging and dropping the different windows. First of all, you need to find the Fast View Bar. Usually, it is at the bottom end of the Eclipse window, but it also can be on the side or hidden inside the Shortcut Bar. For our purposes, it probably is best to have it on the right side of the screen. Place it there by dragging it with the mouse. Now, add some items to it. To do this, press the New Fast View button on the bar. It might be better to leave the Goal, the Problems and the Proof Control window at the bottom of the screen, as you may want them to stay open while editing. A good selection of tools to add to the Fast View bar may be:
Project Explorer
Obligation Explorer
Search Hypothesis
Cache Hypothesis
Proof Tree
Proof Information
Progress Window
All of the windows that you cannot create directly when clicking on New Fast View can be found under Others/General. Once you are done, the window should look like in Figure 3.8. Click on “Save Perspective As…” in the Window menu to save the perspective.